For those of you who don't know, I decided to make Ivan a quilt to give to him as a gift from our baby girl to him. We're hoping that will help him like her more (or at least a little), whether he understands she's giving it to him or not is still debatable. I've had all the fabric for this quilt for quite some time. Natalie Millett gave me most of it, except for the white which was scraps that I already had. The only thing that I spent money on for the quilt was the batting, which was kinda pricey. And if I had to buy all the fabric and the batting and the thread and needles and embroidery thread and sewing machine and pins I would have spent way more on this than buying Ivan 10 quilts! Quilting is not cheaper, but you know what? It means more, well to me, Ivan doesn't really care right now and since he's a boy he might not ever care. Maybe his future wife will or his kids. In the end, we all know I made this quilt for me. I now have something tangible that says I love my kid, not that it's not obvious that I love him, but something physical to hold on to just makes me feel better about life. Funny how that works.
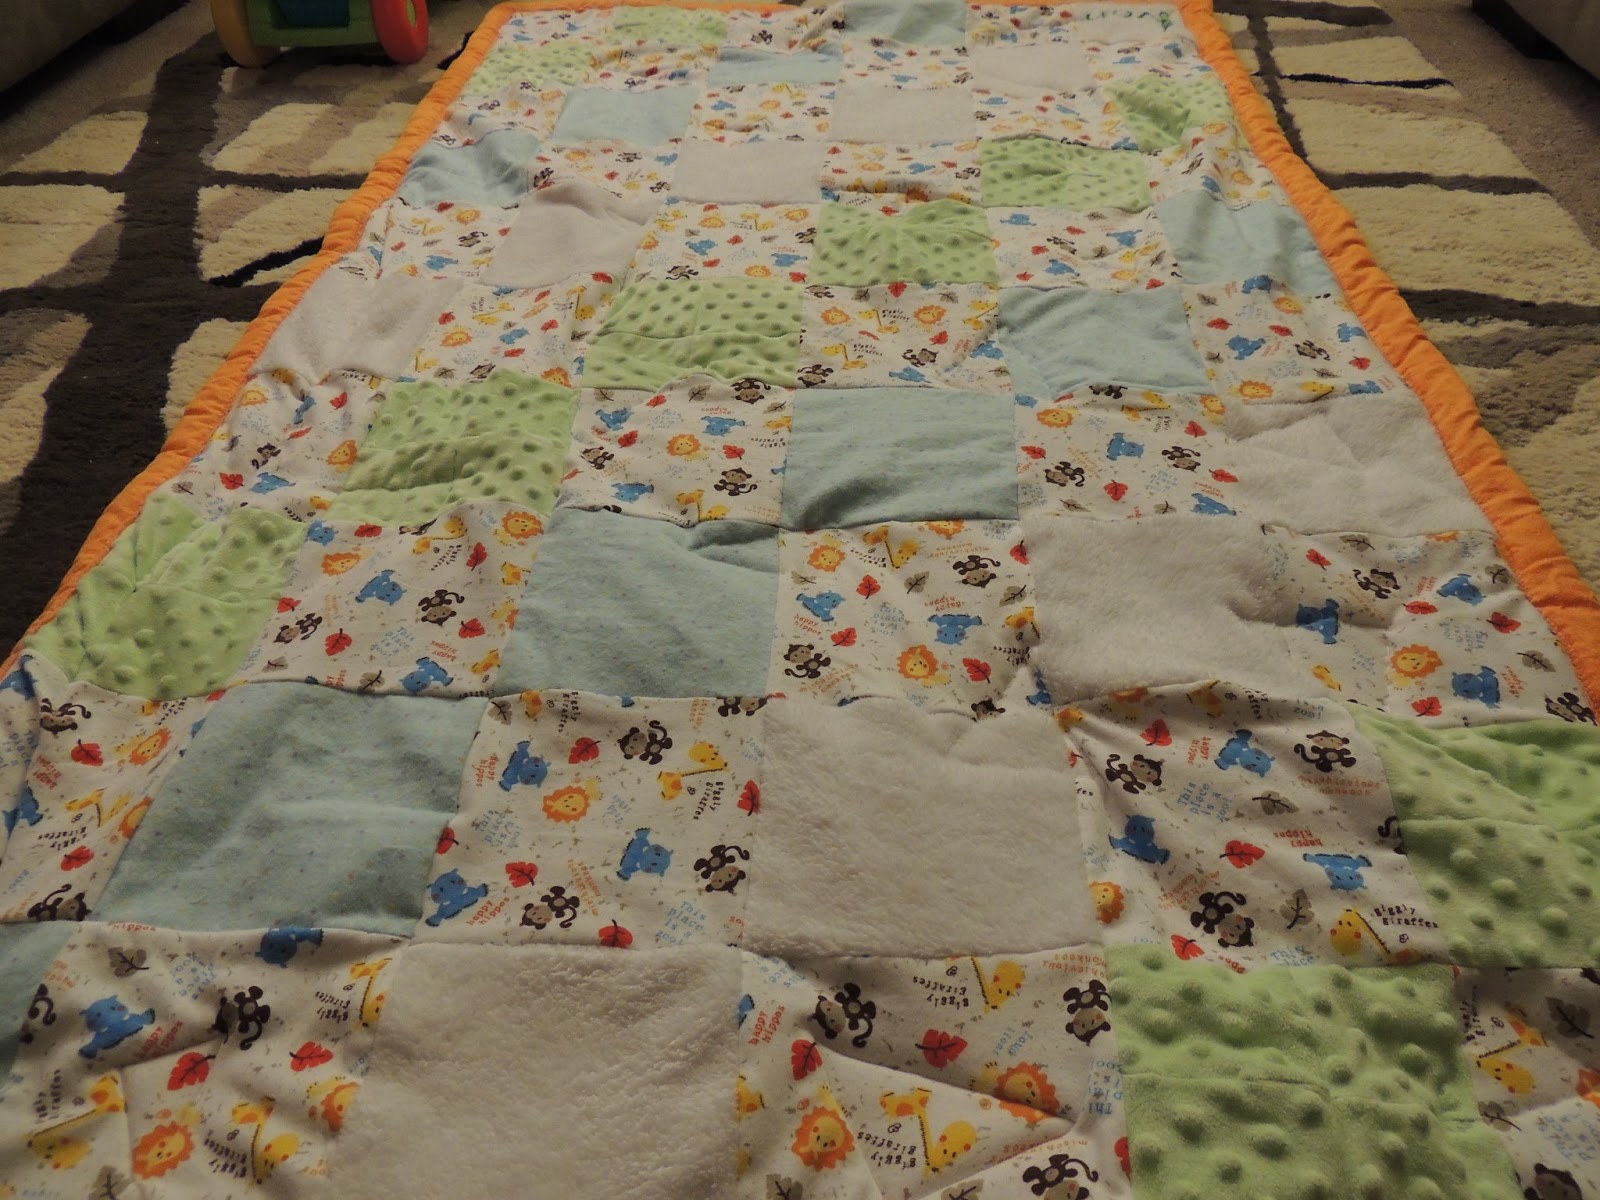
So I started making this thing in the beginning of January with cutting the squares and trying to piece things together. I had lots of advice from Michael's mom, the quilting expert in my life, about how to set things up how to sew and she even helped me pin all the border down and boy was that a task! My mom provided the thread and needles and sewing machine. So it was a joint effort by the female presence in the family. I got the top of the quilt assembled fairly quickly, which was surprising to me. I did a pretty dang good job with matching up all my corners. I kinda went a little OCD about it cuz that part is important to me. The back of the quilt is big enough to wrap around the front of the quilt for a border. I planned it that way so I wouldn't have to worry about binding, which I hear is a pain in the rear. I used the feather stitch, just a decorative stitch that supposed to help keep the fabric from fraying, for the border. I was really surprised at how difficult it was to pull all three layers, the top, back and batting, through the sewing machine. This made my decorative stitch look just a little bit different than when I practiced it. Oh well, looks good to me. To my dismay, there were several parts of the top that had not been sewn to the border! This meant weird little pockets in places and that all three layers weren't actually joined. To fix that, I hand sewed a stitch in the ditch. All that is is a hidden stitch between the top of the border and the top layer of the quilt. I used the same stitch, called a ladder stitch to miter the corners and keep the stitch hidden. Funny thing about the ladder stitch is I totally practiced that stitch when I was in the vet tech program. It's one of the stitches that veterinarians use most commonly in abdominal surgeries or any amount of stitching up an animal that requires more than one layer of stitches. Then I decided to embroider Ivan's name onto the front of the quilt. I really wish I had decided to do that part sooner. If I had thought of it before attaching all the layers I would have been able to make my knots on the back of the fabric and the front would have looked cleaner. It would have been a lot easier too because I wouldn't have been going between the layers to hide my stitches. I think it turned out pretty good. Then comes the hard part. I've been reading tons of tutorials and blogs and getting advice from all the seamstresses I know about machine quilting. I know that it's difficult. I know that it's a process to learn. I also know that my sewing machine was made to quilt, so I could do it, right? I drew the pattern I wanted on the back of the quilt, pinned everything in place, and got ready to sew. I sewed the first line and stopped to look at it and it was awful! The fabric on the front has pulled and bunched and wrinkled. I was so upset. So I unpinned it, repinned it tighter, adjusted the tension on my machine, and started sewing the second line thinking this time would go better. I got about 6 inches done, stopped and looked at it, and it was awful! I was so mad. I'm also very pregnant and had been working ever so hard on the quilt to make it look beautiful. I procrastinated quilting it for so long because I wanted it to turn out well. Heck, I even added his name embroidered on there to keep from quilting it for that much longer! Pretty sure I had a meltdown after that and couldn't look at the quilt for a couple days. What's worse about messing it up is that I couldn't undo it. The stitch length made the stitches so small they were practically invisible. Even with my tiny seam ripper I could undo most of the stitches. Then I got the idea to sew it by hand. I'm sure I didn't use the right technique or anything, but it's holding together just fine and looks pretty cute. I made little triangles all over the body of the quilt. And that's it!

 |
| not sure how well you can see it, but this is the triangle I quilted |
 |
| just a close up of the minky and pattern fabrics. all the fabrics I used have different textures |
No comments:
Post a Comment